
Damaged photo mat repair involves identifying issues like torn edges, cracked glass, and faded frames. Tailor repair approaches accordingly, using specific tools and materials for each damage type. Clean mats gently to prevent further debris-related harm. Stabilize warped or bent mats with adhesives or refined frame finishes. For complex repairs, use high-quality matching materials and specialized techniques. Skilled fine art shops offer custom solutions, ensuring long-term stability through reinforced corners and backing.
“Learn how to expertly repair damaged photo mats with our step-by-step guide. From understanding common mat types to securing replaced areas, this comprehensive tutorial ensures your cherished memories remain pristine. Gather your tools, follow our instructions on cleaning and stabilizing, and replace any damaged sections seamlessly. Discover the art of select frame repair and breathe new life into your photo displays.”
- Understanding Damaged Photo Mat Types
- Gather Necessary Tools and Materials
- Cleaning and Stabilizing the Photo Mat
- Replacing and Securing Damaged Areas
Understanding Damaged Photo Mat Types
Understanding Damaged Photo Mat Types
When it comes to repairing damaged photo mats, the first step is to identify the type of damage and the materials involved. Common issues include torn edges, cracked glass, faded or discolored frames, and loose or missing components. Each type of damage requires a specific approach for effective repair. For instance, repairing torn frame edges involves precise cutting and reattaching, while replacing cracked glass necessitates sourcing identical specifications to ensure an authentic look.
Vintage frame renovation services often cater to artistic frame enhancements, leveraging specialized techniques to restore historical pieces. These may include intricate painting, meticulous detailing, and the careful integration of new elements that complement the original design. Selecting the right repair method is crucial, whether it’s as simple as mending torn corners or more complex procedures like repairing damaged matboards.
Gather Necessary Tools and Materials
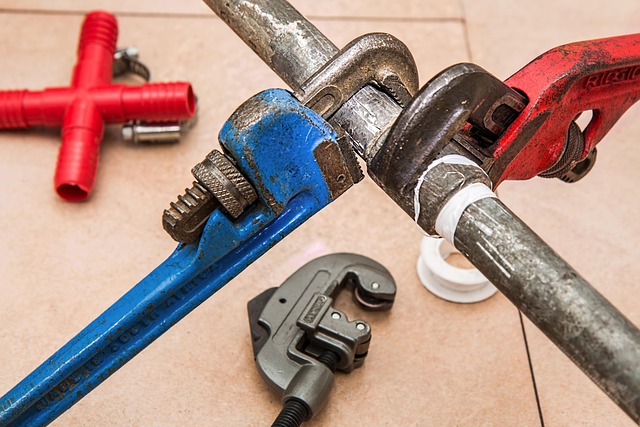
Before starting to repair your damaged photo mat or frame, it’s crucial to gather all the necessary tools and materials. For a successful select frame repair, you’ll need a variety of items tailored to the specific damage. If you have a torn frame edge, consider acquiring fine-grit sandpaper, wood glue suitable for the frame material, and a small paintbrush. For repairing damaged canvas frames, you might require additional tools like a canvas restorer or a fabric patch kit. Don’t forget to assess the extent of the damage; sometimes, it’s easier to restore old photo frames from the start with new materials rather than attempting complex repairs.
Once you have your supplies, lay them out in an organized manner. Ensure your workspace is clean and well-lit for precision work. Depending on the severity of the damage, you might need to replace entire sections of the frame or mat, so make sure to select materials that match the original as closely as possible. This attention to detail will ensure a professional repairing torn frame edges or restoring old photo frames, leaving your cherished memories looking as good as new.
Cleaning and Stabilizing the Photo Mat

Before attempting any repair work, ensuring your photo mat is clean and stabilized is a crucial step. Start by gently removing any loose debris or dust from the surface using a soft-bristled brush or a microfiber cloth. This process is especially important if the damage includes broken glass or shattered edges, as it helps to prevent further debris from embedding into the mat.
Stabilization involves addressing any warping or bending in the mat board or frame. A specialist in custom frame building might recommend using specialized frame restoration techniques, such as applying a thin layer of conservatively chosen adhesive to reinforce weak areas. Refining old frame finishes can also be part of this step, ensuring that the final repair blends seamlessly with the original design and preserves the aesthetic integrity of the photo mat.
Replacing and Securing Damaged Areas
When repairing a damaged photo mat, one of the critical steps is replacing and securing any areas that have been compromised. This involves sourcing high-quality materials that match the original frame’s style and color. A skilled frame shop for fine art can offer custom frame solutions for art pieces, ensuring a seamless restoration. They use specialized tools and techniques to carefully remove the old mat and replace it with new, preserving the artwork’s integrity.
Additionally, securing the damaged areas properly is essential to prevent further deterioration. This may include reinforcing the frame corners, adding extra backing to support vulnerable sections, or using metal picture frame restoration techniques to stabilize any metal components. The goal is to create a sturdy foundation that can withstand normal display conditions, ensuring the photo mat’s longevity and allowing the artwork to be enjoyed for years to come.
Repairing a damaged photo mat is a feasible task that can extend the life of your cherished memories. By understanding the types of damage, gathering the right tools, cleaning and stabilizing the mat, and replacing secured areas, you can effectively perform a select frame repair. This process not only saves you money but also ensures your photos remain in pristine condition for years to come.