
Photo mats, susceptible to moisture, tears, sun damage, and poor quality over time, require careful Select Frame Repair. Common issues include warping, discoloration, rips, and fading. Successful repair involves choosing the right tools (screwdrivers, pliers, precision tools) and high-quality materials matching the frame's finish. The process starts with assessing damage, gathering suitable supplies like sandpaper, glue, tape, or custom solutions. Proper care, including shielding from sunlight, regular cleaning, and cautious object placement, ensures long-lasting preservation of repaired photo mats, both antique and personal.
“Damaged photo mats can be a heartbreaker, but with some know-how, you can mend them and preserve precious memories. This guide delves into the common causes and types of damaged photo mats, equipping you with the knowledge to tackle repairs using select frame repair techniques. We’ll walk you through essential tools, materials, and step-by-step instructions for mending your mat. Additionally, discover tips to prevent future damage and ensure your repaired photo mat remains in top condition.”
- Understanding Damaged Photo Mats: Common Causes and Types
- Tools and Materials Required for Select Frame Repair
- Step-by-Step Guide to Mending Your Photo Mat
- Tips for Preventing Future Damage and Maintaining Your Repaired Photo Mat
Understanding Damaged Photo Mats: Common Causes and Types
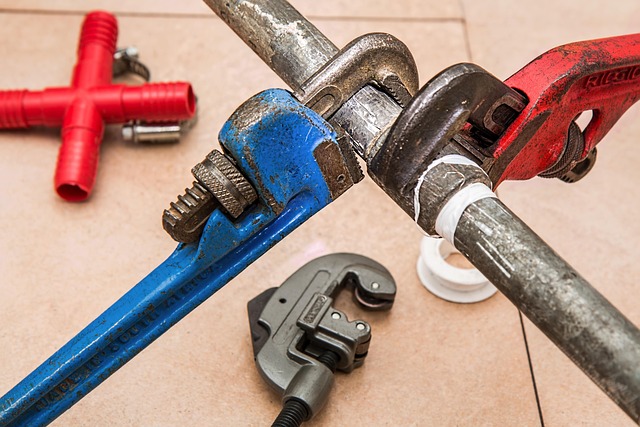
Photo mats, often an integral part of framing a cherished memory, can sustain damage over time due to various factors. Understanding these common issues is the first step in choosing the right Select Frame Repair method. One of the most frequent causes of damage is exposure to moisture or humidity, which can cause the mat to become warped or discolored. Accidental tears, pet damage, or even improper storage can also result in rips and tears.
Another type of damage includes fading or discoloration due to prolonged sun exposure, which can weaken the mat over time. Additionally, old or low-quality mats may deteriorate faster, especially if they were never properly protected. A specialist in custom frame building and specialized frame restoration techniques can offer solutions for restoring old photo frames, ensuring that your cherished memories are preserved with care and precision.
Tools and Materials Required for Select Frame Repair

When tackling a Select Frame Repair, having the right tools and materials is paramount to achieving a professional-looking result. For basic repairs like replacing cracked or broken glass, a standard kit includes a variety of screwdrivers, pliers, and a set of precision tools for intricate adjustments. Artisans in frame crafting and repair often recommend investing in high-quality materials that match the original frame’s finish and style.
Additionally, a specialist in custom frame building may suggest more specialized items like adhesive designed for glass restoration, filler for minor cracks, and various types of putty for adjusting or replacing damaged wood components. These tools and materials ensure that your repair work not only looks seamless but also enhances the longevity of the framed piece, whether it’s an antique treasure or a cherished photograph.
Step-by-Step Guide to Mending Your Photo Mat

Repairing a damaged photo mat is an art that combines skill and patience. Here’s a step-by-step guide to help you bring your cherished memories back to life:
1. Assess the Damage: Begin by carefully examining the photo mat. Note the extent of the damage, whether it’s tears, cracks, or missing pieces. This will guide your selection of repair techniques and materials. For minor tears, a simple adhesive might suffice, while more significant damage may require specialized frame restoration techniques.
2. Gather Your Supplies: Depending on the level of repair needed, you’ll need specific tools and materials. Basic supplies include fine-grit sandpaper, wood glue suitable for photo frames, and clear or matching tape for small tears. For restoring vintage frame treasures or more intricate damage, custom frame repair solutions might be necessary, ensuring a precise and discreet fix.
Tips for Preventing Future Damage and Maintaining Your Repaired Photo Mat

To ensure your repaired photo mat remains in pristine condition and prevents future damage, consider adopting a few simple yet effective practices. Firstly, protect your mat from direct sunlight, as UV rays can cause fading and weaken the material over time. Avoid placing it near windows or exposing it to prolonged outdoor elements. Instead, opt for well-lit indoor spaces with controlled environments. Regular cleaning is another vital step; use a soft, dry cloth to gently wipe away dust and dirt, preventing debris from embedding into the surface.
Additionally, be mindful of the items placed on top of your mat. Heavy objects or sharp corners can cause indentations or even tear the fabric. When displaying artwork or photos, consider using protective covers or mats underneath to distribute weight evenly. For those needing specialized frame restoration techniques or wooden frame repairs near them, custom frame solutions for art are available, ensuring your photo mat not only looks as good as new but is also preserved for years to come.
Repairing a damaged photo mat is a feasible task with the right knowledge and tools. By understanding the common causes of damage, having the appropriate materials, and following a simple step-by-step guide, you can successfully perform a select frame repair. Preventative measures such as regular cleaning and proper storage will ensure your restored photo mat lasts for years to come, preserving cherished memories without worry.